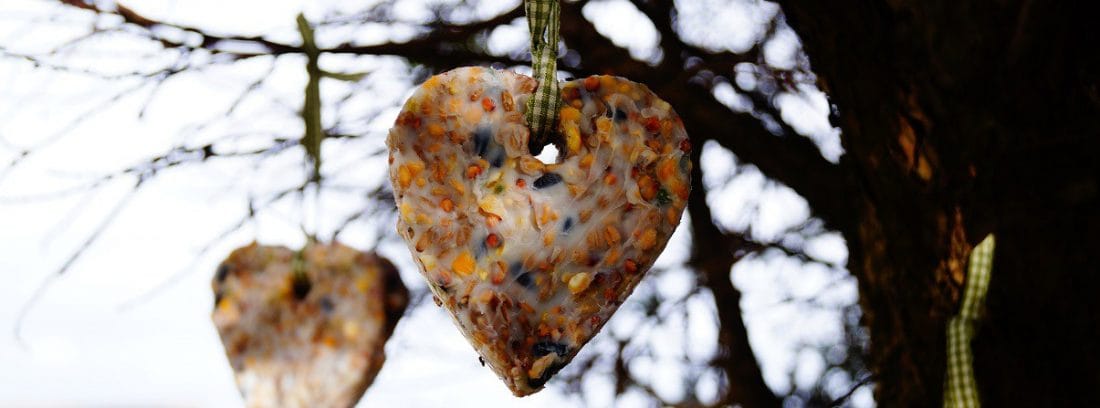
How to make a Seed Heart Bird Feeder
Baby it’s cold outside! February can be a really harsh month, with biting winds and ice even on the brightest of days and so if you’re feeling the cold in all those layers, just think of all the wildlife braving it outside, day and night!
So as Valentines day approaches, we thought we’d spread the love to all those little birdies out there with these really super, easy to make and nutritious (for birds ONLY you understand!) Seed Heart Bird Feeders.
Now we do warn you, they are a bit messy to make but it’s well worth it and don’t worry if you don’t have heart shaped cookie cutters in the cupboard, other shapes work just as well . (Unless it’s like a big eagle shape…or a scarecrow…Mmmn yes perhaps you might want to avoid them!) Read on for our ‘how to’ guide and…Enjoy making!
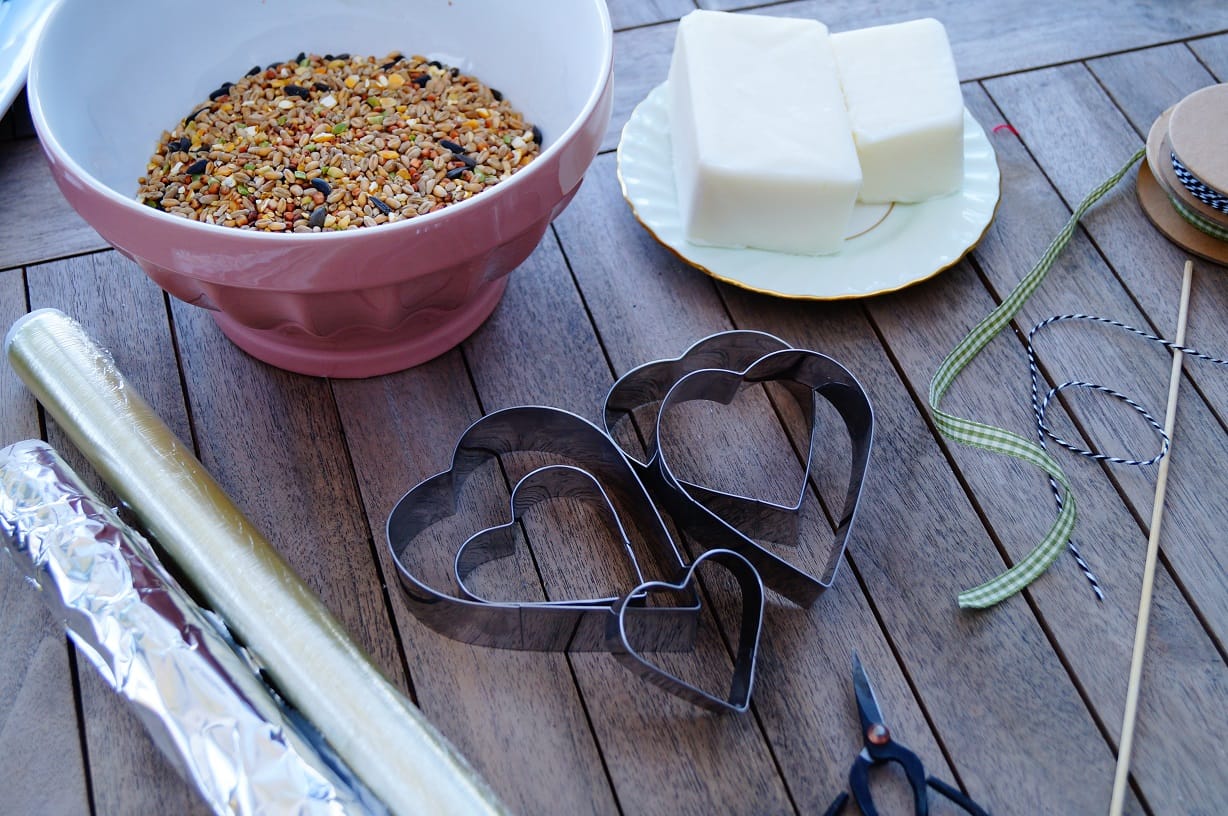
We used: Approx 275g to 300g of Bird Seed – 250g of Lard (or animal suet if you prefer) – Cookie cutters (or make your own shape from tin foil) – A Pan – A Tray – Tin Foil or Clingfilm – A Spoon – A Skewer (or pencil), Ribbon (or Twine). Oh you might want to have some soapy water and a towel handy too! (well I did say it might be a bit messy!)
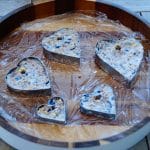
- Firstly, preparation is key so line a tray with some clingfilm or tin foil and place your cutters on there ready.
- Carefully heat the Lard in a pan until it’s just melted and then remove from the heat. (Note that the lard can be quite hot at this stage so be careful not to burn yourself!) Stir your birdseed into the fat a bit at a time until you feel you’re happy with the consistency of the mixture. (Don’t worry if you have a small amount of birdseed left over you can always add it in at a later stage). As a general rule you should be able to see approximately a couple of mm of melted lard sitting above the seeds in the pan.
- Before you can start to fill your cookie cutters, allow your mixture to cool down by placing it outside or somewhere away from room temperature until it is at a temperature where the Lard begins to go white (but just before it solidifies.)
- When the fat has whitened (but you can still stir it), this is the perfect time to fill your shapes with the mixture. (Note that if the liquid has not solidified enough, it will seep out of the bottom of your cutters!). It’s also the best time to decide if you need to add more birdseed. You need just enough lard to hold the seeds together and so if you need to add more, do so now. Then use the spoon to fill the cutters with the mixture, pushing it down firmly and ensuring you fill any corners or edges well to ensure you take on the shape of the cutter.
- Once you’re happy they are filled enough, take a skewer or pencil and form a decent size hole (this will be to thread your ribbon/twine through at a later date).
- Next, place them (whilst still in the cookie cutter) in a cool place or fridge until they’re as solid as they can be….As lard will only go so hard.

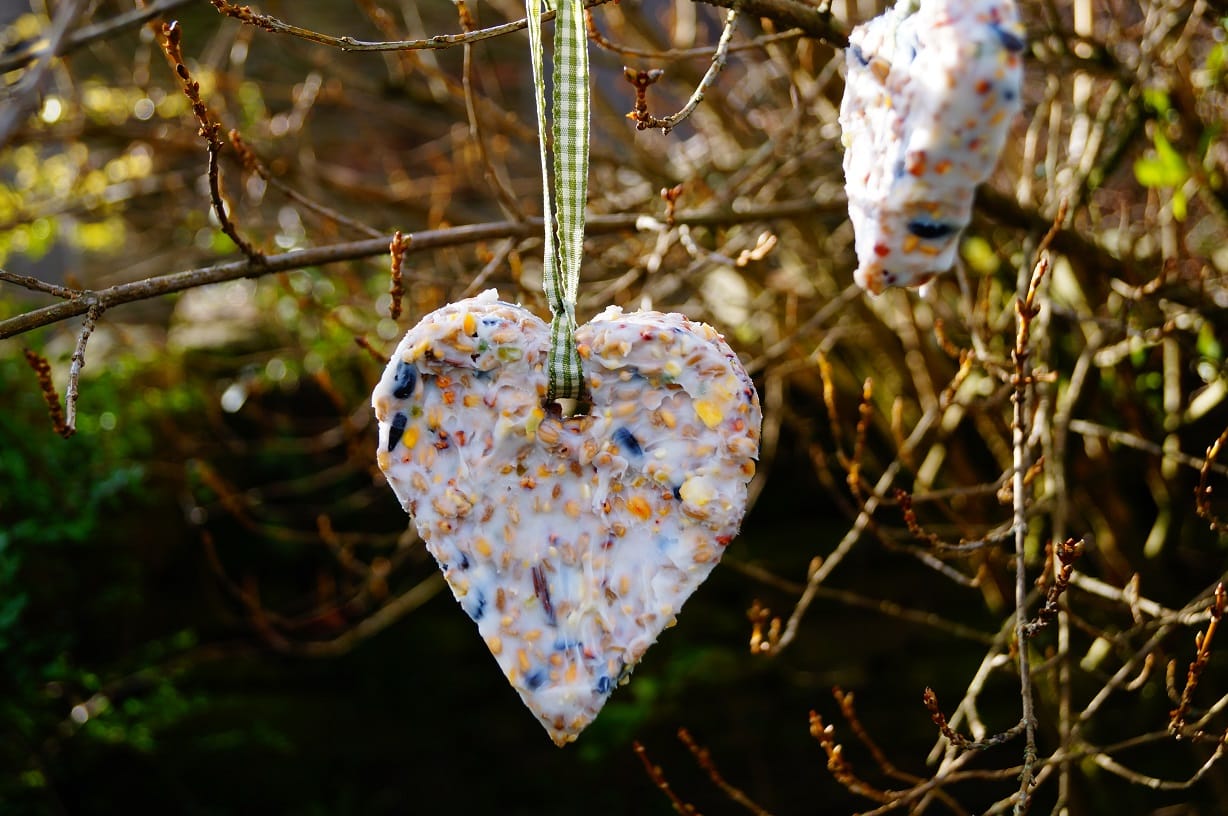
Finally….Gently press out the hardened mixture with your fingers (yep that’s the most messy bit!) and thread the Ribbon or Twine through the hole. Hang them in the garden and stand back and admire! (Preferably in the warmth of the house with a nice cup of hot tea whilst humming “feed the birds”) Nice work …Mary Poppins has nothing on you!
Know someone else that may like our blog? Please feel free to share! And…If you’d like to subscribe to our e-newsletter to receive monthly updates, discounts and information about our workshops it’s easy….Simply visit our website www. moreprettythings.co.uk and pop your email address in the box provided on the homepage.
No Comments