How to upcycle packaging into luxury Gift Tags
I have a confession…Upcycling is my happy place!
Like a magpie is for shiny things, I am drawn to pretty things and to taking something that would normally be thrown into the bin, and making it into something else.
I know I’m not alone in this and I applaud you all…it’s a great thing you do!
For those who don’t currently then I hope this blog will show you just how simple it is to do it and how satisfying it can be too. On top of the environmental benefits of course!
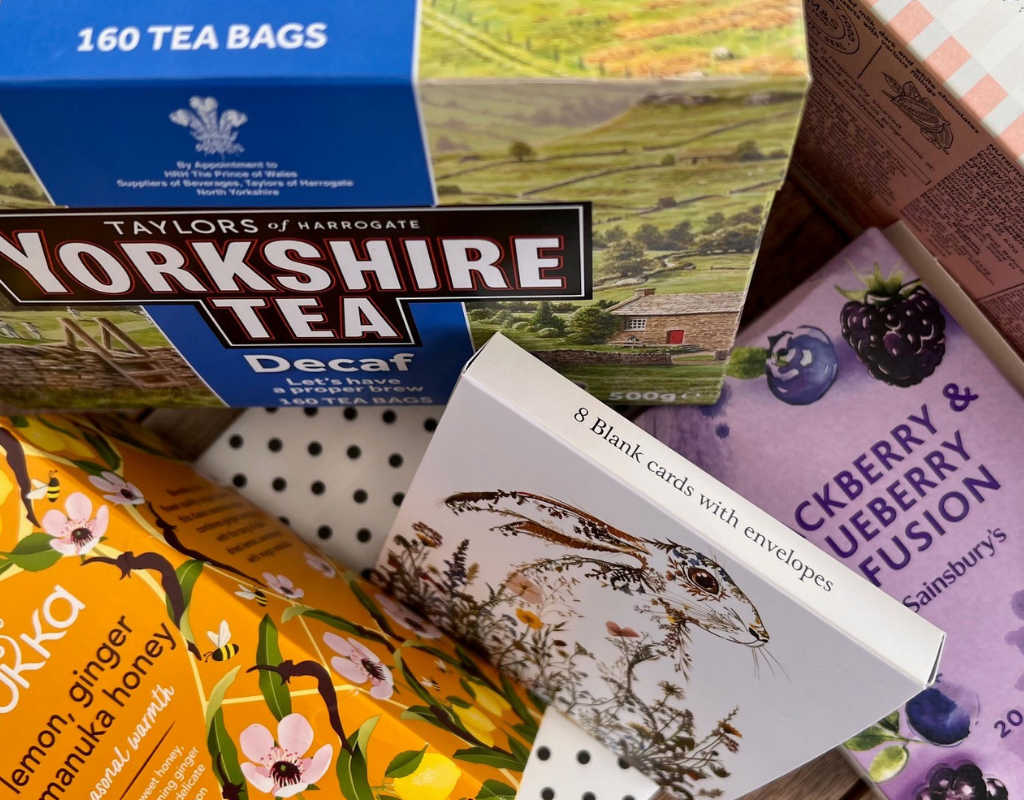
Now I’ve spoken many times over the years about making gift tags, bookmarks, place cards and the likes from greetings cards that you’ve received but no longer need but I just wonder if you have ever thought about making them out of other things such as perfume packaging, the front page of a used notebook or even a tea packet?
Some of the herbal tea packets have the most lovely seasonal fruit designs on them and yorkshire tea decaff has a lovely country scene with cricketers on!
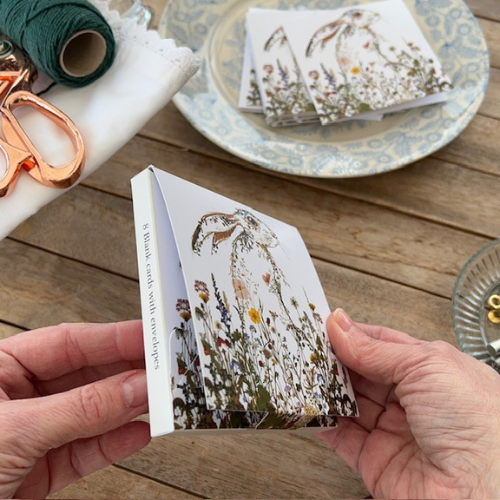
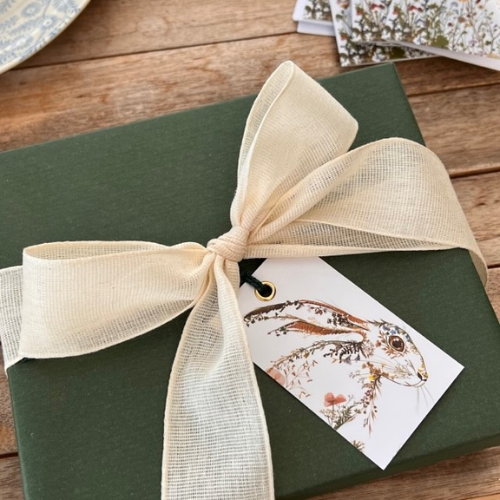
I don’t buy things intentionally for the packaging but its nice to suddenly realise something I’ve bought or been gifted can be reused! This being the case with the very pretty Wildflower Hare Note Card packaging after I’d used up all the notecards. I could almost hear it shout ‘please make me over’!
Yes, it’s way too gorgeous not to reuse but its really likely that most people would have just thrown it away when all I can see is potential! There’s a few things you could make from it…The front could be an extra notecard or a pretty book mark of course?
Then there’s my absolute favourite make, tags! Who doesn’t use tags? Whether they’re to add to gifts or label up jars or office files they always come in useful.
I can see that with just this little bit of packaging I could make several tags (1 hare and 4 smaller floral tags) plus I’ve also spotted a very pretty Bee on the back (see pic 2) that’d look fab in my office to label up a box file I’ve been meaning to label for ages!
So as some may end up being a decorative label that will be kept for a long time, on this occasion I’m going to give them a more luxe feel and make them a little more robust…Here’s how I got on!
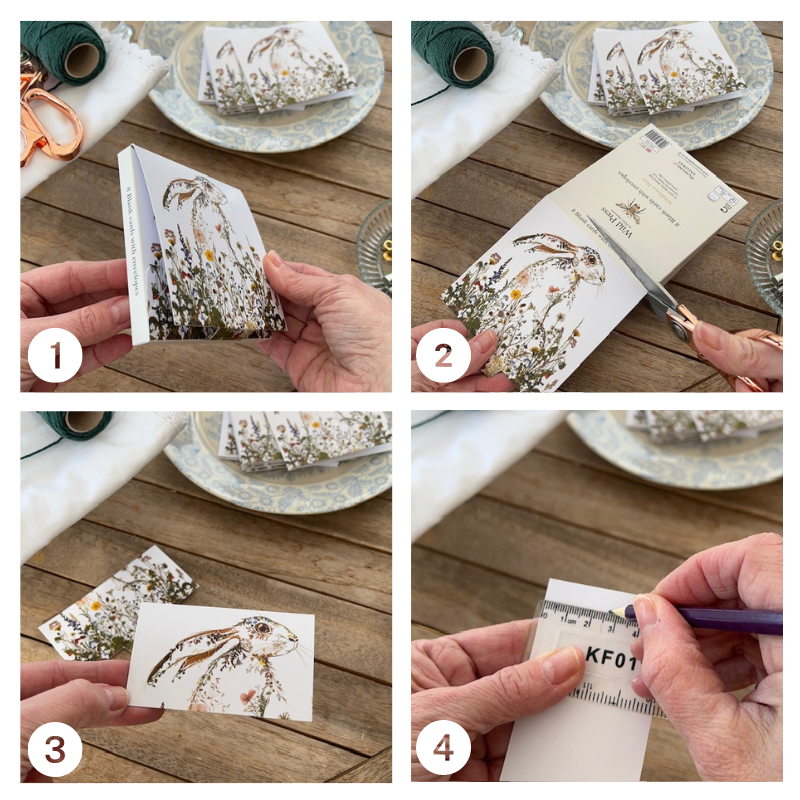
1 – Firstly I like to take a look around my packaging to check what’s useable and how I can use up as much of it as possible. If I’m making gift tags then I need to be sure there’s some white or plain space on the back suitable to write on, for bookmarks and the likes its ok if it’s got a pattern on both sides.
2- Once I’ve decided on a project, I begin cutting out the pieces I need. I sometimes I use scissors and a keen eye or other times it’s a guillotine!
3 – Next I take one of the pieces I’ve cut out and assess where I’d like to make the hole
4 – I then mark on the back where I’d like to hole to be using a ruler and pencil mark.
Now if you’re making a simple tag that might be reused on a gift, you can just hole punch it and thread it with string and this means they can then be recycled by the recipient but as some of these tags are likely to be used to label up office files etc I’ll be using a grommets/eyelets kit which adds a bit more of a luxury look and means they should last longer.
Kits are readily available to buy and can be different sizes. Mine is a 5mm kit and so easy to use once you know how. You just need a kit and a hammer and you’re good to go. My kit contained a cutting tool, a little plastic protector piece, a little ‘anvil’ tool, grommets and eyelets and a metal tool to connect the two together. If you’ve never done it before then here’s my self taught quick guide! (if you are an expert and have any tips I’d love to hear them, please do pop them below in the comments!)
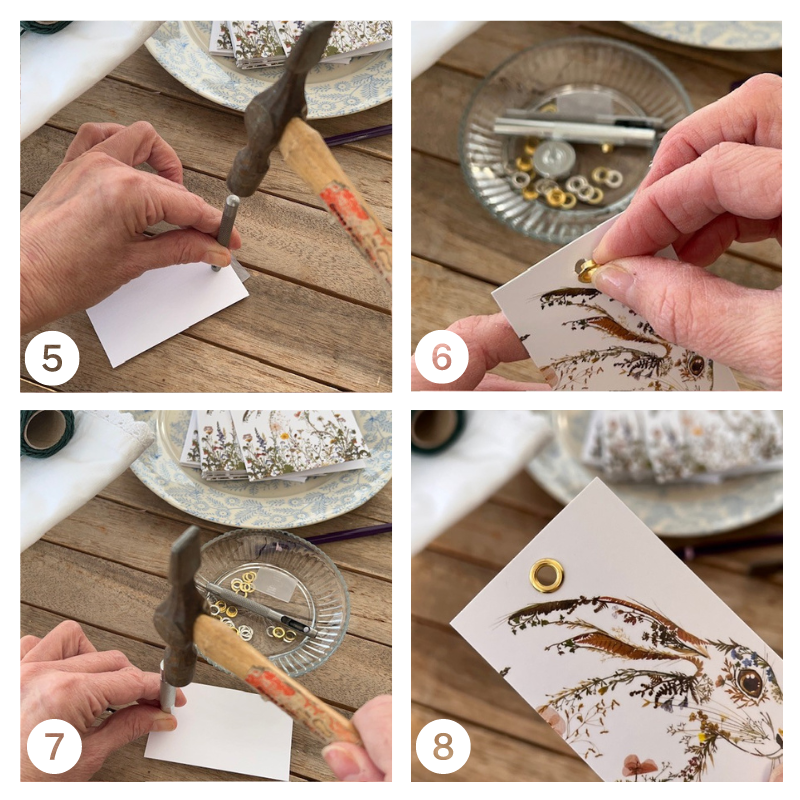
5 – First I put down the little plastic protector under where I’ll be making the hole. I then take the hole cutting tool from my kit and place it in position, in accordance with the hole I marked out earlier. Then I give a couple of medium taps of the hammer on the top of the cutting tool which tends to make a clean hole.
6 – Next I take a grommet (shown) and place it through the front of the tag, then attach a washer (not shown) to the back.
7 – I then place the tag upside down on the little ‘anvil’ from my pack (so that I could see the eyelet) and place the second metal tool (no idea the name of that one!) on the top, over the little sticky up bit of the anvil and then I give that a good firm tap which joins the grommet securely to the eyelet.
8 – And that’s it! You end up with a very luxurious looking ‘home made’ gift tag! I think at this point we should remind ourselves that this was made from packaging that could have been thrown away but I’d challenge you to buy something as lovely for the cost to make this!
If you’d like to see how the others turned out then do follow us on instagram / facebook as I’ll be posting some pictures in March and may even do a little reel!
…………………………………………………………………………………………………………………………………………………………..
Seen some bits in this blog you like? Click on the items to find them in our online store. Wildflower Hare Note Cards with Envelopes and very pretty packaging!, Green kraft paper , Cream Cotton Ribbon available from our wrapping room
No Comments